A frozen air conditioner can be a frustrating and inconvenient problem to deal with, especially during the hot summer months. When your AC unit freezes up, it not only fails to cool your home effectively but also puts additional strain on the system, potentially leading to costly repairs down the line.
Let’s discuss the common causes of a frozen air conditioner and provide step-by-step instructions on how to troubleshoot and repair the issue.
Key Takeaways:
Turn Off the AC: The first step in addressing a frozen air conditioner is to turn off the unit completely. This will allow the ice to thaw and prevent further damage to the system.
Check for Airflow Restrictions: One of the most common causes of a frozen air conditioner is restricted airflow. Inspect the air filter, vents, and duct s to ensure they are not blocked or clogged with dirt, dust, or debris. Replace the air filter if it is dirty and clean the vents and ducts to improve airflow.
Refrigerant Levels: Low refrigerant levels can also cause the coils in your AC unit to freeze up. Check the refrigerant levels and if they are low, contact a professional HVAC technician to recharge the system.
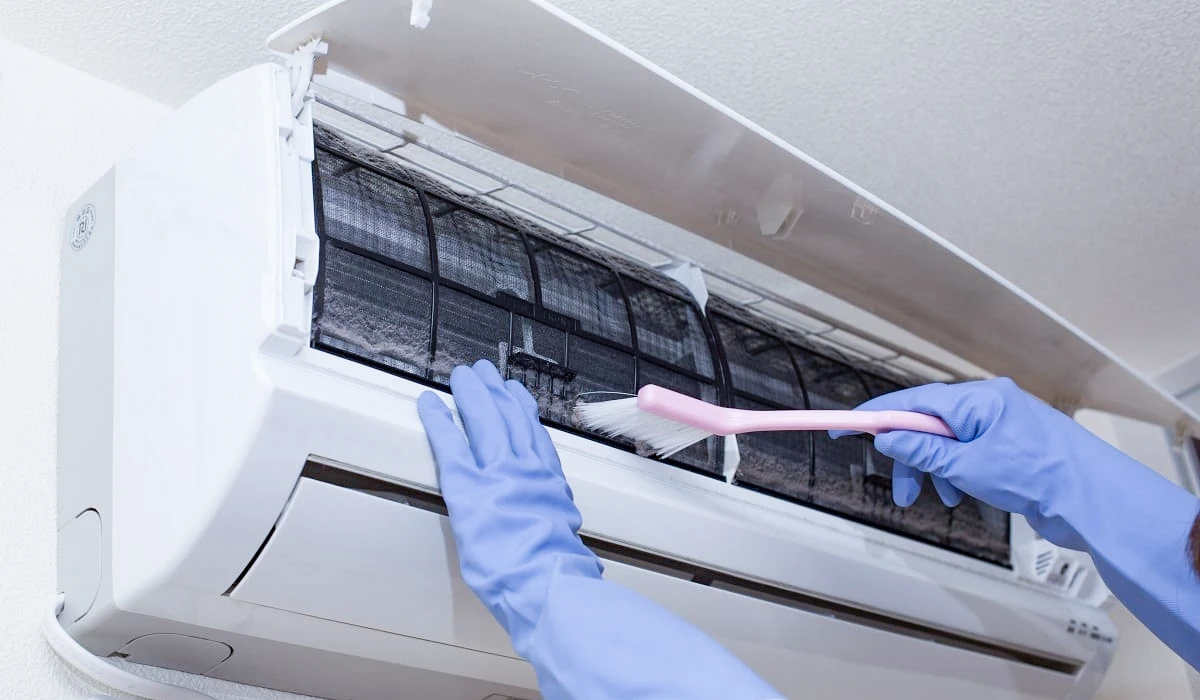
Inspect the Evaporator Coils: Dirty or damaged evaporator coils can also cause your air conditioner to freeze up. Inspect the coils for any dirt, debris, or damage. If necessary, clean the coils using a soft brush and gentle cleaner. If the coils are damaged, contact a professional technician for repair.
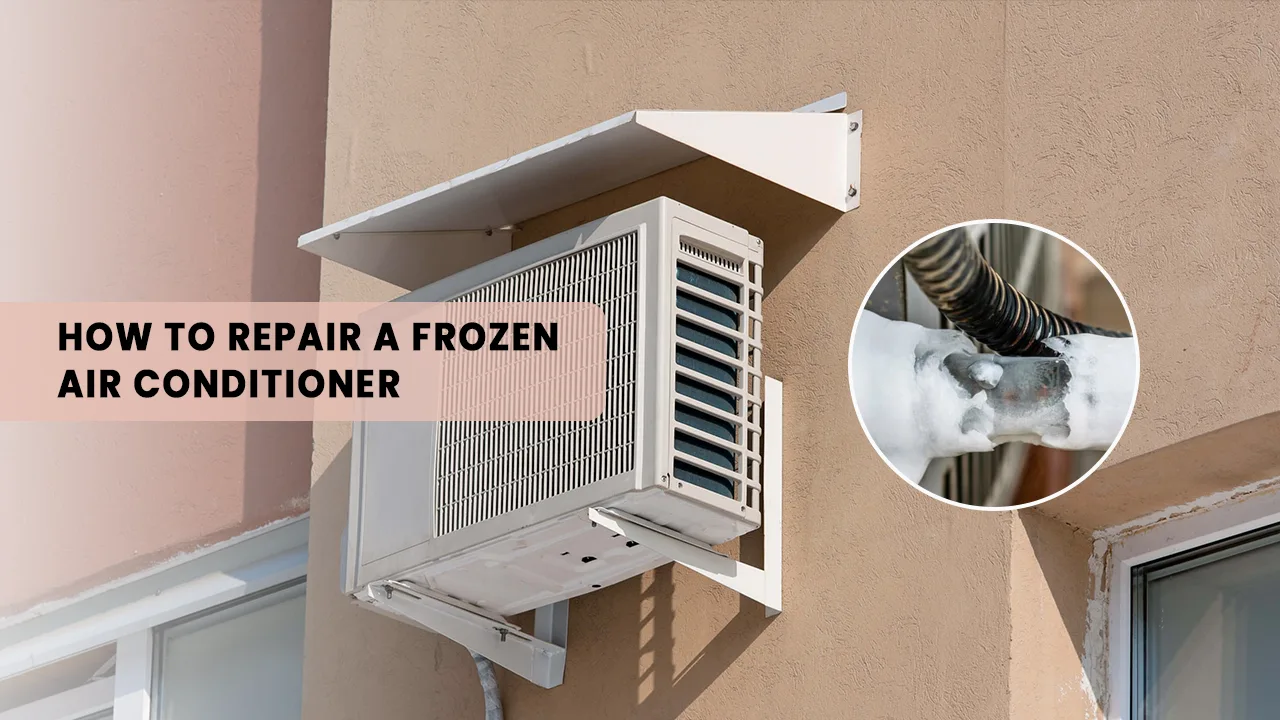
Proper Insulation: Poor insulation around the refrigerant lines can also contribute to freezing issues in your air conditioner. The insulation around the refrigerant lines and replace any damaged or missing insulation.
Allow the Unit to Thaw Completely: After addressing any airflow restrictions, low refrigerant levels, dirty coils, or insulation issues, allow the air conditioner to thaw completely before turning it back on.
Turn the AC Unit Back On: Once the unit has thawed completely, turn the AC unit back on and monitor it for any signs of re-freezing. If the issue persists, contact a professional HVAC technician for further diagnosis and repair.
Schedule Regular Maintenance: To prevent future issues with your air conditioner freezing up, make sure to schedule regular maintenance for your HVAC system. Regular maintenance can help identify and address potential issues before they become major problems, ensuring that your air conditioner runs efficiently and effectively all year round.
Explanation of why an air conditioner may freeze up

- Lack of airflow over the evaporator coil can cause condensation to freeze, restricting air flow and leading to ice buildup.
- Low refrigerant levels can cause the pressure inside the unit to drop, resulting in the evaporator coil freezing.
- A malfunctioning thermostat can also contribute to an air conditioner freezing up.
- Dirty evaporator coils can prevent proper heat absorption, causing the coil to become too cold and freeze.
- A faulty blower motor or fan can lead to a lack of airflow over the evaporator coil, causing it to freeze.
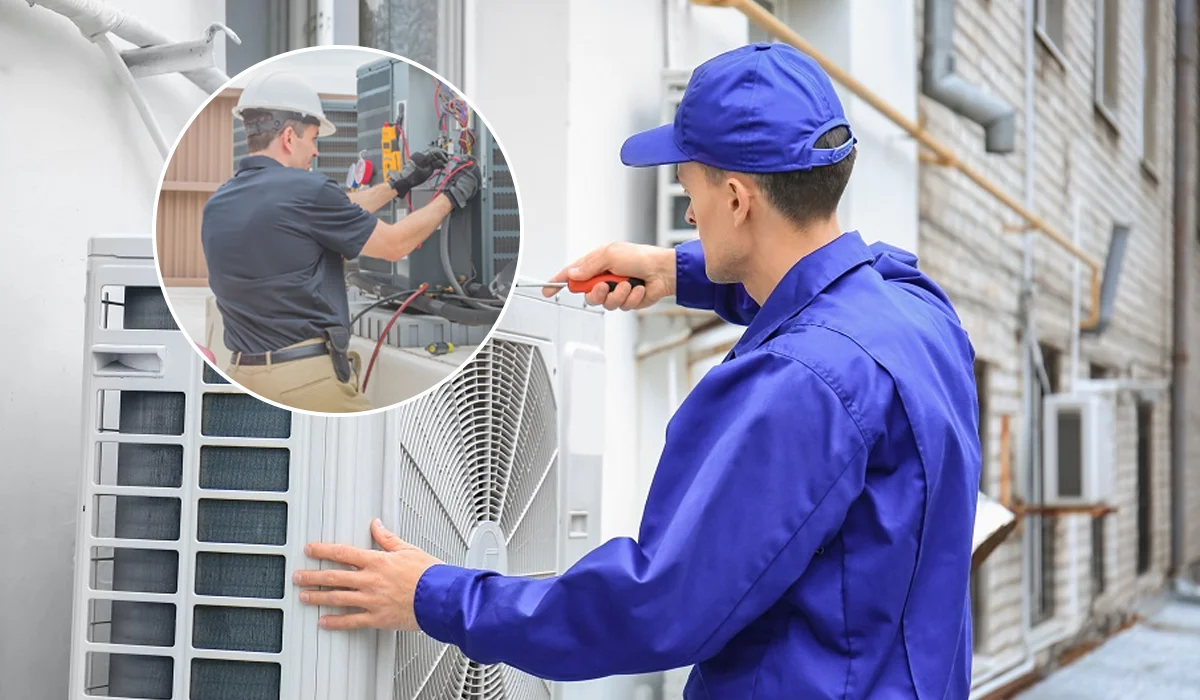
- Regular maintenance checks by a qualified HVAC technician can help prevent air conditioner freezing.
- Keeping vents and ducts clear of obstructions can help maintain proper airflow and prevent freezing.
- Monitoring the outdoor unit for debris.
Importance of addressing the issue promptly to prevent further damage

Regular maintenance checks and inspections with a professional HVAC technician can help identify and address potential issues before they escalate.
Being aware of signs of trouble, such as strange noises, odd smells, or reduced airflow, can help prompt quick action.
Addressing air conditioning issues promptly can prevent further damage to the system and ensure it operates efficiently for years to come.
Procrastinating on fixing small issues can lead to larger problems and potentially shorten the lifespan of your air conditioning unit.
Promptly addressing issues can help maintain a comfortable indoor environment, prevent health risks associated with poor air quality, and save money on energy bills.
Taking swift action on air conditioning issues can also prevent costly repairs or replacements down the line.
Check the Air Filter
The air filter in your air conditioner plays a crucial role in maintaining good indoor air quality and ensuring the efficient operation of your unit. Over time, dust, dirt, and debris can accumulate on the filter, leading to reduced airflow and potentially causing damage to your HVAC system. In this article, we will discuss why it is important to regularly check and replace your air conditioner’s air filter, as well as provide some tips on how to do so.
Why is it important to check and replace your air conditioner’s air filter regularly?
Improved Indoor Air Quality: The primary function of an air filter is to trap dust, pollen, and other airborne particles that can affect the quality of the air inside your home. A clogged or dirty filter will not be able to effectively capture these contaminants, leading to poorer indoor air quality and potential health issues for you and your family.
Increased Energy Efficiency: When the air filter is dirty or clogged, it restricts airflow through the system, causing your air conditioner to work harder to cool your home. This can result in higher energy bills and increased wear and tear on your HVAC system.
Extended Lifespan of Your HVAC System: Regularly checking and replacing your air filter can help prolong the life of your HVAC system. A clean filter allows for proper airflow, reducing strain on the system and preventing unnecessary wear and tear on components such as the blower motor and evaporator coil.
How often should you check and replace your air conditioner’s air filter?

Ideally, you should check your air conditioner’s air filter once a month and replace it every 1-3 months, depending on factors such as the type of filter you have, the level of indoor air pollution, and whether or not you have pets in your home. If you notice that your filter is visibly dirty or clogged before the recommended replacement time frame, it is best to go ahead and replace it.
How to check and replace your air conditioner’s air filter:
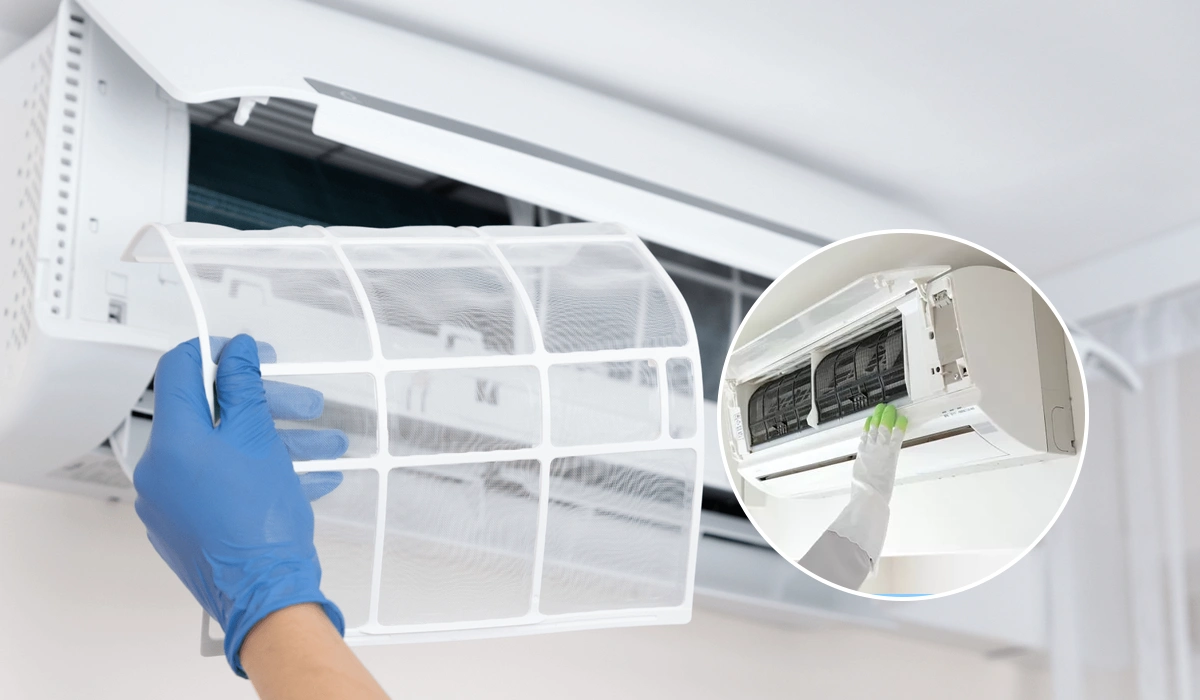
To check and replace your air conditioner’s air filter, start by locating the filter. Depending on the type of system you have, the filter may be located in the return air grille, inside the air handler unit, or in a separate filter slot. Once you have found the filter, carefully remove it from its housing and inspect it for dirt, dust, and debris.
If the filter appears dirty or clogged, it is time to replace it. Make sure to purchase the correct size and type of filter for your specific air conditioner model. Slide the new filter into place, making sure it is facing in the correct direction (usually there will be arrows indicating the airflow direction).
After replacing the filter, turn on your air conditioner and monitor its performance. You should notice improved airflow and possibly even a drop in energy consumption. Remember to check and replace your air filter regularly to ensure the proper functioning of your HVAC system and maintain good indoor air quality.
Summary
When your air conditioner freezes up, The issue can be frustrating and inconvenient, but there are steps you can take to repair it and ensure its smooth operation.
Turn off the unit, replace the air filter if dirty or clogged, remove airflow obstructions, and thaw frozen coils before turning it back on. Check for low refrigerant levels or malfunctioning thermostats as potential causes of freezing. If unresolved, seek professional help. Proper maintenance prevents future freezing.
To prevent freezing in a frozen air conditioner, inspect the condenser coils and clean them with a soft brush or vacuum after addressing initial issues.


