Installing a clothes dryer can be straightforward with the right guidance, and Steam Express ensures your dryer is set up safely and efficiently. Installing a clothes dryer is an essential task for ensuring your laundry routine runs smoothly and efficiently.
Preparation: Before you begin, gather all necessary tools and materials. Common tools include:
- Screwdriver
- Adjustable wrench
- Level
- Power drill
- Vent clamps
- Safety gloves and goggles
Ensure you have the correct power source and venting system in place. For electric dryers, a 240-volt outlet is required, while gas dryers need a gas line, which should be installed by a professional for safety reasons.
Step-by-Step Installation

Choose the Location
Ensure the dryer is placed near an external wall with proper ventilation to prevent lint buildup and allow efficient airflow. Position the dryer close to a dedicated electrical outlet and gas line (if applicable). Leave sufficient space around the dryer for air circulation and maintenance access.
Clean and Connect the Vent Hose
Before installation, clean the dryer vent hose to remove any debris, as a blocked duct can be a fire hazard. Connect one end of the vent hose to the exhaust vent on the back of the dryer and the other end to the wall vent. Use clamps or duct tape to secure the connections.
Level the Dryer
Use a level to ensure the dryer is perfectly balanced. Adjust the leveling legs as needed to prevent noise and movement during operation.
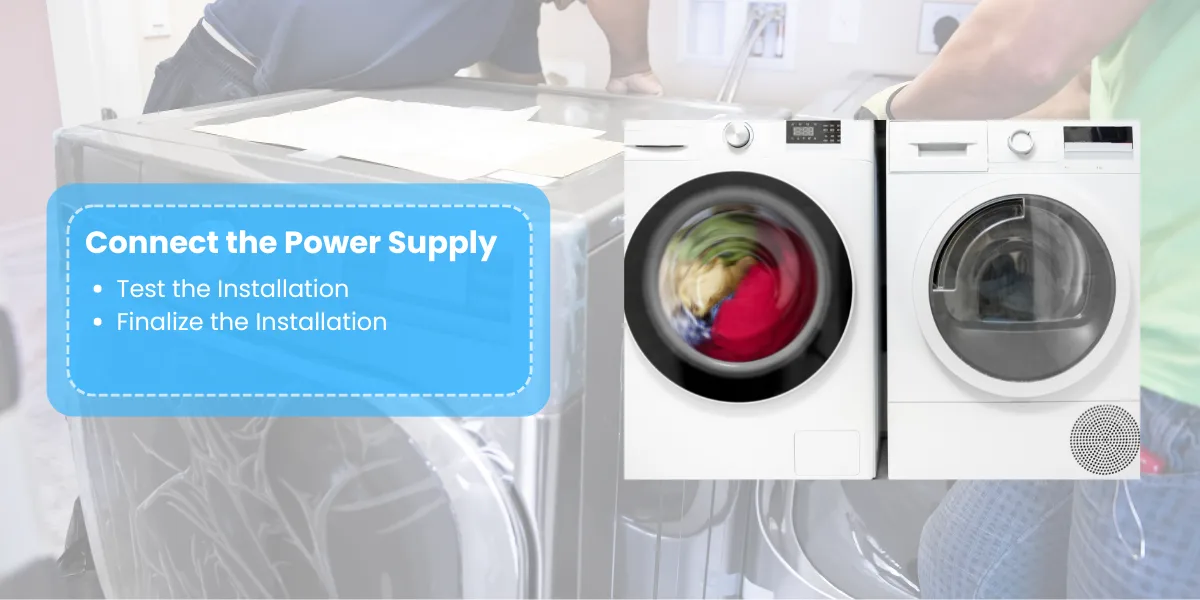
Connect the Power Supply
Plug the dryer’s power cord into the electrical outlet. Ensure the outlet is properly grounded and has the correct voltage and amperage rating.
If not already done, have a licensed professional connect the gas line. Ensure all connections are secure and check for leaks using a leak-detection fluid.

Test the Installation
Run a test cycle to ensure the dryer is functioning correctly. Check for unusual noises, vibrations, or issues with heat distribution. Ensure the vent hose is properly venting to the outside.
Finalize the Installation
Secure the dryer in place and clean up any packaging materials. If necessary, seal any gaps around the vent opening to the outside to prevent air leaks.
Safety Considerations
Always follow the manufacturer’s instructions and safety guidelines specific to your dryer model.
For gas dryers, it is highly recommended to hire a professional to handle gas connections to avoid potential hazards.
Ensure the installation complies with local building codes and regulations, especially concerning venting and electrical connections.
The following these steps and taking the necessary precautions, you can successfully install your clothes dryer and enjoy the convenience of freshly dried laundry. If at any point you feel uncertain, consider consulting a professional to ensure a safe and efficient installation.
How do I ensure my dryer is properly ventilated?
Ensuring your dryer is properly ventilated is important for safety, efficiency, and the longevity of the appliance. Here are some key steps and tips to ensure your dryer is ventilated correctly:

Proper Vent Installation
Keep the dryer vent as short and straight as possible. The maximum recommended length for most dryer vents is 25 feet, but this should be reduced by 2.5 feet for each 45-degree bend and 5 feet for each 90-degree bend.
lways vent the dryer to the outside through a sidewall or roof. Never vent into attics, crawl spaces, or garages, as this can lead to moisture buildup and potential mold issues.
Regular Maintenance
Clean the lint filter before or after each use to prevent lint from entering the vent system.
Have your dryer vents professionally cleaned at least once a year to remove lint buildup and ensure proper airflow. For households with high laundry volumes, more frequent cleanings may be necessary.
Ensure the vent cap is functioning correctly and free from blockages. A malfunctioning cap can allow pests to enter and cause blockages.
Optimize Vent Path
Keep the vent path as short and straight as possible. Each 90-degree turn in the duct reduces the effective length of the vent by 5 feet, which can hinder airflow.
Minimize bends and turns in the vent path to reduce resistance and improve airflow.
Regular Maintenance and Cleaning
Schedule professional cleaning of your dryer vents at least once a year to remove lint buildup and ensure optimal airflow.
Regularly clean the lint trap and accessible portions of the vent. For deeper cleaning, use a vent brush or vacuum attachment to remove lint from the ductwork.
Proper Installation
Ensure the vent is the correct diameter (typically 4 inches) and made of appropriate materials, such as galvanized metal, to facilitate efficient airflow.
Use metal tape to secure duct joints and avoid using screws, which can catch lint and create blockages.
Summary
Installing a clothes dryer involves several detailed steps to ensure it operates efficiently and safely. First, choose an appropriate location with ample space and proper ventilation to prevent overheating and ensure efficient drying.
Gather essential tools such as a screwdriver, adjustable wrench, level, and possibly a power drill. Begin by positioning the dryer, making sure it is stable and level to avoid vibrations and noise during operation.
Connect the power supply, ensuring compatibility with your home’s electrical system, and securely attach the vent hose to facilitate proper airflow and prevent lint buildup. For steam dryer models, connect the water supply line, ensuring all connections are tight to avoid leaks.
Finally, run a test cycle to confirm that the dryer is functioning correctly. If any issues arise, it may be beneficial to consult a professional to ensure optimal performance and safety.


