Air conditioning units are essential for maintaining a comfortable temperature in homes and offices, especially during hot summer months. However, like any other appliance, they can malfunction or break down, requiring immediate repair. While some issues may require professional assistance, there are several common problems that you can fix yourself with the right tools and knowledge. This article will guide you through the process of diagnosing and repairing common issues with air conditioning units.
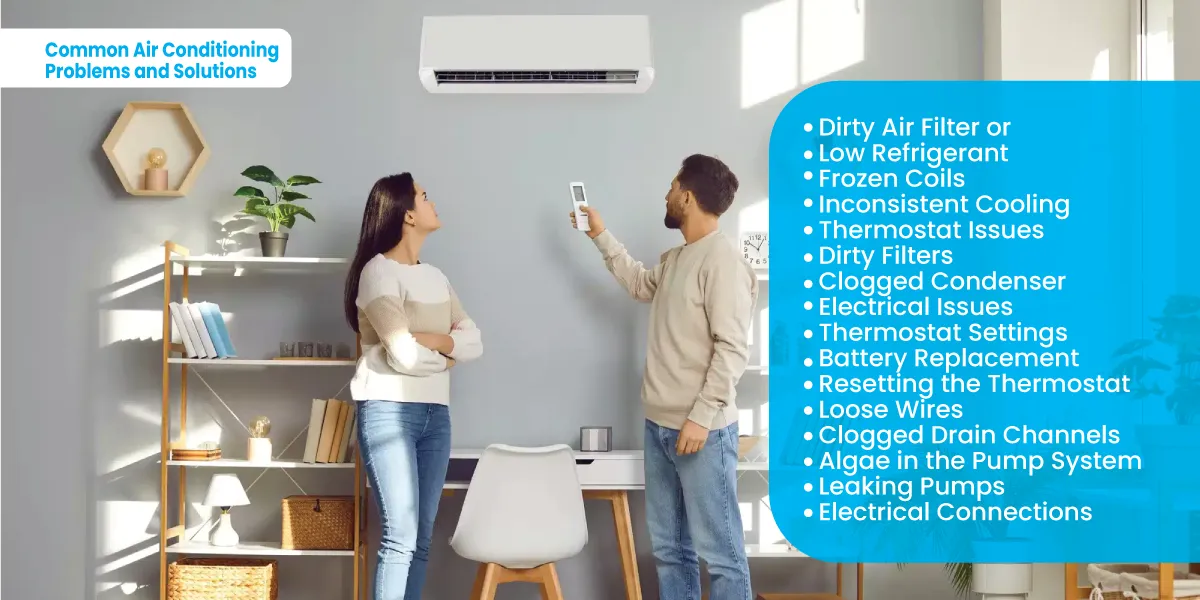
Common Air Conditioning Problems and Solutions
Dirty Air Filter or Blocked Condensate Drain: Clean or change the filter and empty the drain if necessary.
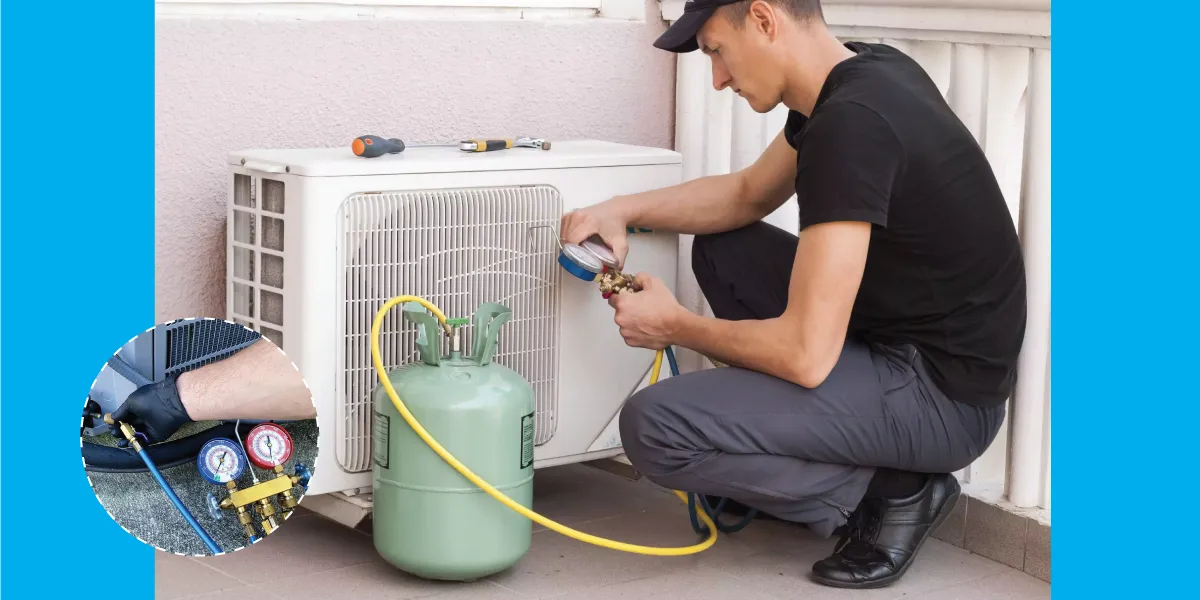
Low Refrigerant: Ensure there’s enough refrigerant in the system and check for leaks before adding more coolant.
Frozen Coils: Turn off the power for a period to let the coils thaw.
Inconsistent Cooling: Check for proper drainage and ensure the condenser and evaporator coils are clean.
Thermostat Issues: Recalibrate or replace the thermostat if it’s faulty.
Dirty Filters: Check and replace the air filter if it’s dirty.
Clogged Condenser or Evaporator: Gently brush out any debris and clean the condenser fins and coils with water.
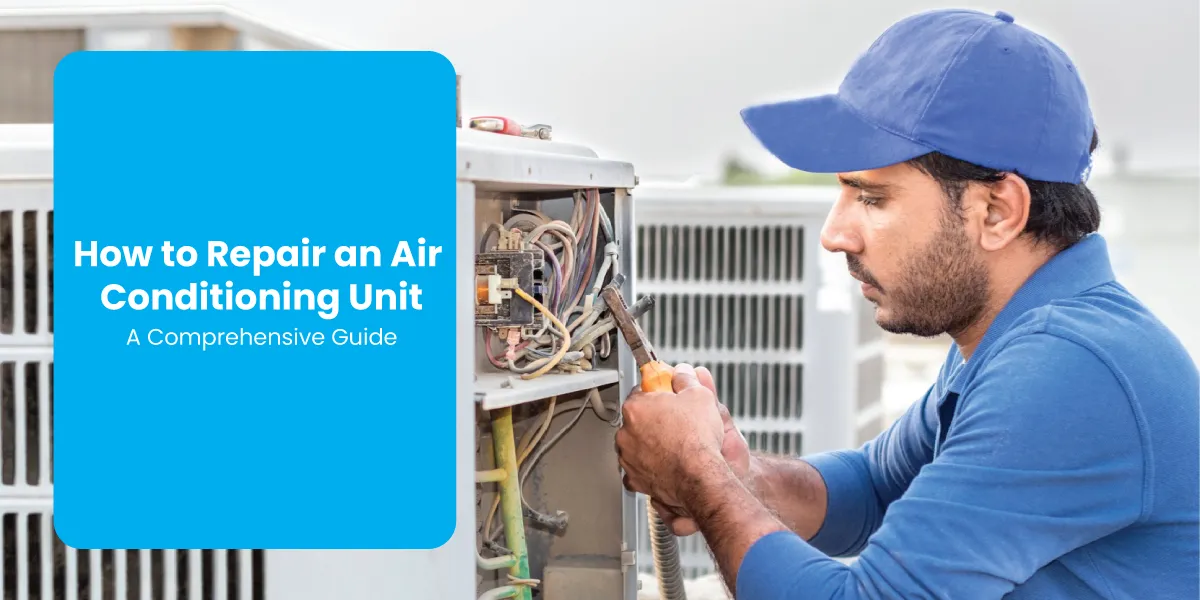
Electrical Issues: Check for loose wires or screws and tighten them if necessary.
Thermostat Settings: Ensure the thermostat is set to “cool” mode and lower the temperature by five degrees to check for any noticeable difference.
Battery Replacement: Try replacing the batteries in the thermostat.
Resetting the Thermostat: Reset the thermostat to manufacturer defaults.
Loose Wires: Check for any loose wires or screws and tighten them if necessary.
Clogged Drain Channels: Disconnect the power and unclog the drain channels with a stiff wire.
Algae in the Pump System: Clean the pump system with an appropriate bleach solution.
Leaking Pumps: Check for leaking pumps that may need replacing.
Electrical Connections: Ensure electrical connections to the pump are functional.
DIY Troubleshooting Tips
Ensure the thermostat is set to “cool” mode and the temperature setting is below the current room temperature.
Check the air filters and replace them if they appear dusty or filled with debris.
Ensure the evaporator and condenser coils are clean. Gently clean the coils with a soft brush to improve performance.
Make sure the outdoor unit is free from obstructions like leaves, plants, or debris. Proper airflow around the unit is crucial for efficient operation.
If the air conditioner is not running at all, check the circuit breakers and fuses. Reset any tripped breakers and replace blown fuses to restore power to the system.
How do I check for refrigerant leaks in my air conditioning unit?
To check for refrigerant leaks in your air conditioning unit, you can follow these steps and methods:

Visual Inspection and Sound Check
Perform a visual inspection of your air conditioner to look for signs of leaks, such as oil or dirt around the joints of evaporator and condenser coils and service valves.
Hissing or bubbling sounds coming from the outdoor unit when it’s running can indicate a refrigerant leak.
Soap Bubble Method
Mix soapy water in a spray bottle.
Spray the soapy water on the suspected leak points, such as joints and valves.
If there’s a leak, the leaking refrigerant will cause the water to bubble.
UV Dye Method
Charge UV dye into the air conditioning system through the service valve.
Turn on the unit to allow the UV dye to circulate with the refrigerant.
Use a UV light to identify where the leak is coming from. The UV dye will be visible in a bright color at the leak point.
Electronic Leak Detector
Electronic leak detectors can include heated dioxide, corona suppression, and infrared sensors. These devices are more accurate and can detect leaks that might be missed by other methods.
Common Signs of Refrigerant Leaks
If your system suddenly can’t keep up during the hottest hours of the day, a refrigerant leak is a common cause.
Air conditioners dehumidify as they remove warm air. A refrigerant leak can compromise this ability.
Longer cooling cycles are another sign of a possible refrigerant leak.
Inefficient cooling and longer cycles caused by low refrigerant can increase your utility bills.
Frosty ice crystals forming on the evaporator coil during hot weather indicate a refrigerant leak
Summary
This article provides a step-by-step guide on how to repair an air conditioning unit. It covers the basics of how air conditioning units work, common problems that can occur, and how to diagnose and fix them. The guide includes tips on how to troubleshoot issues with the condenser and evaporator coils, how to clean and maintain the unit, and when to call a professional for assistance.


