Venting a dryer in a basement requires careful planning to ensure safety and efficiency. The primary goal is to direct the hot, moist air and lint produced by the dryer outside the home, preventing moisture buildup and potential mold growth.
Why Proper Venting is Important?
- Moisture Control: Venting a dryer indoors, especially in a basement, can lead to excessive moisture, which promotes mold and mildew growth.
- Lint Accumulation: Lint is a fire hazard and can cause respiratory issues if not properly vented outside.
- Energy Efficiency: Proper venting ensures that the dryer operates efficiently, reducing energy consumption and costs.
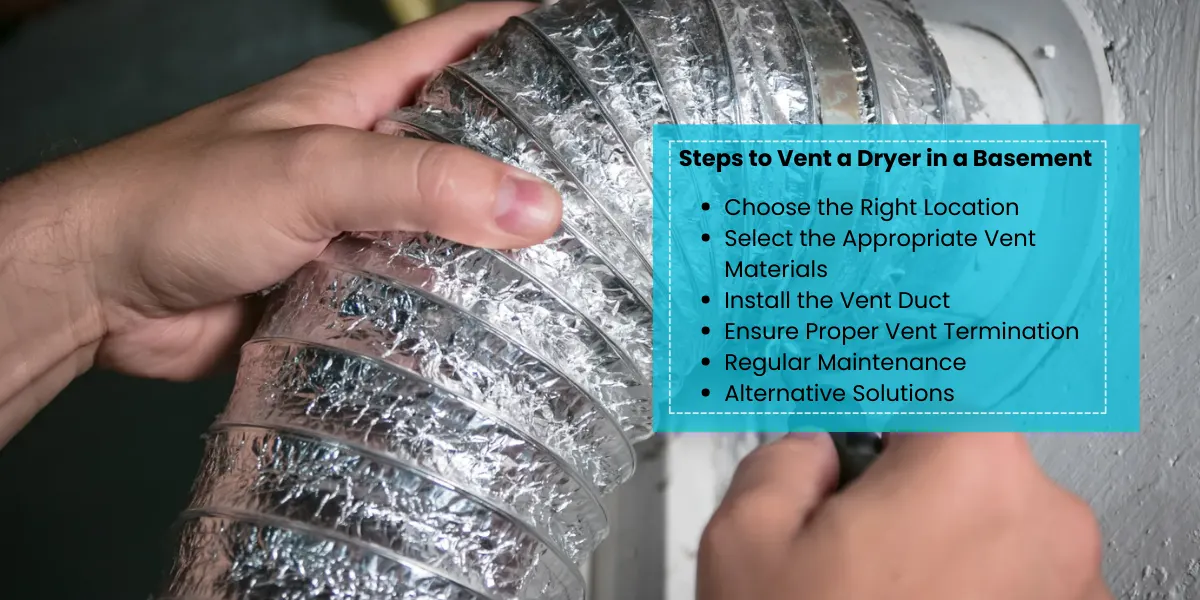
Steps to Vent a Dryer in a Basement

Choose the Right Location
Ideally, the dryer should be placed near an exterior wall to minimize the length of the vent duct. Ensure the vent path is as short and straight as possible to reduce lint buildup and improve airflow.
Select the Appropriate Vent Materials
Use rigid metal ducting instead of flexible plastic or foil ducts, which can sag and trap lint. Seal joints with metal foil tape, not duct tape, to prevent leaks and ensure a secure connection.
Install the Vent Duct
Drill a hole through the exterior wall using a hole saw, ensuring it is slightly larger than the duct diameter. Insert a vent hood into the hole from the outside, with the vent portion facing outward. Secure it with screws and seal around it with caulk to prevent air and moisture leaks. Connect the rigid ducting from the dryer to the vent hood, keeping the path as direct as possible. Avoid sharp turns that can impede airflow.
Ensure Proper Vent Termination
The vent should terminate outside, away from windows, doors, or other vents to prevent moisture re-entry into the home. Install a back-draft damper to prevent outside air from entering the duct when the dryer is not in use.
Regular Maintenance
Clean the lint trap after every use and inspect the vent duct annually for lint buildup. Consider professional cleaning if the vent is long or has multiple bends.
Alternative Solutions
If venting through an exterior wall is not feasible, consider these alternatives:
These dryers do not require external venting, as they recycle air within the unit, condensing moisture and draining it away.
In some cases, a window vent kit can be used to direct exhaust outside through a nearby window.
Properly venting a dryer in a basement is crucial for maintaining indoor air quality and ensuring the safety and efficiency of your appliance. Always consult local building codes and, if necessary, hire a professional to ensure compliance and optimal installation.
Are there any specific tools needed to safely vent a dryer in a basement?
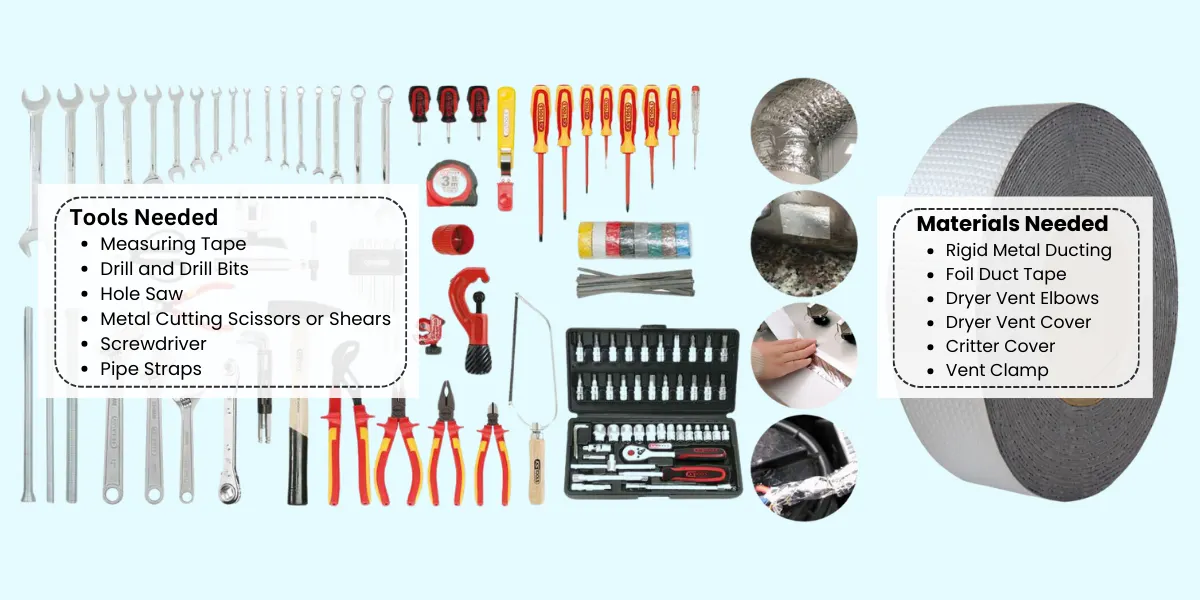
To safely vent a dryer in a basement, you will need a few specific tools and materials to ensure the installation is both effective and compliant with safety standards. Here’s a list of the essential tools and materials required for this task:

Tools Needed
- Measuring Tape: To measure the length of the duct run and ensure it stays within the recommended limits.
- Drill and Drill Bits: For creating holes in the wall where the vent will be installed.
- Hole Saw: Slightly larger than the size of the vent pipe to cut a clean hole through the exterior wall.
- Metal Cutting Scissors or Shears: To cut the metal ducting to the required length.
- Screwdriver: For securing the vent cover and other components.
- Pipe Straps: To secure the duct to walls or ceilings and prevent sagging4.
Materials Needed
- Rigid Metal Ducting: Use 4-inch rigid metal duct pipes, as they are safer and more efficient than flexible plastic ducts.
- Foil Duct Tape: For sealing joints and connections to prevent leaks. Do not use regular duct tape as it is not heat-resistant and can deteriorate over time.
- Dryer Vent Elbows: To navigate corners and changes in direction while maintaining airflow.
- Dryer Vent Cover: Installed on the exterior wall to prevent pests and debris from entering the duct.
- Critter Cover: An optional addition to prevent animals from entering the vent.
- Vent Clamp: To secure the duct to the dryer and other fittings.
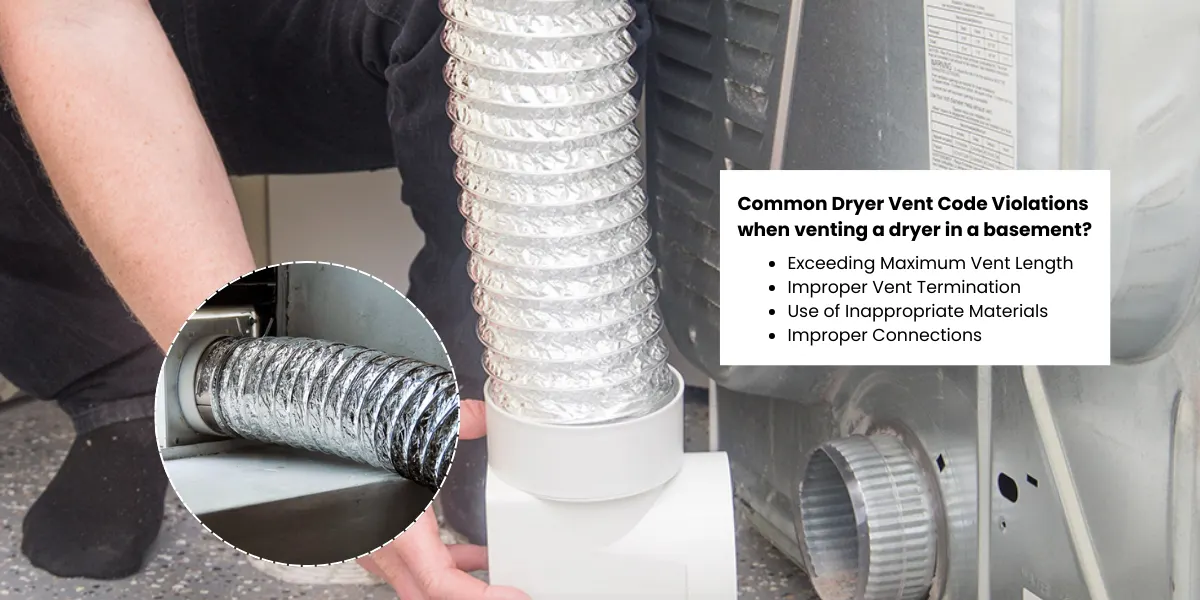
Common Dryer Vent Code Violations when venting a dryer in a basement?
Venting a dryer in a basement, several common code violations can occur, potentially leading to safety hazards such as fires or inefficient dryer performance. Here are some of the most frequent violations and how to address them:

Exceeding Maximum Vent Length
The International Residential Code (IRC) limits the length of a dryer vent to 35 feet. Each 90-degree bend reduces this limit by 5 feet, and each 45-degree bend reduces it by 2.5 feet. Exceeding this length can decrease airflow, leading to lint buildup and increased fire risk.
If the vent length exceeds the limit, consider installing a booster fan to improve airflow or rerouting the vent to a closer termination point.
Improper Vent Termination
Dryer vents must terminate outside the home and be at least 3 feet away from any openings like doors or windows. Venting into attics, garages, or crawl spaces is prohibited as it can lead to moisture buildup and potential mold growth.
Ensure the vent terminates outside with a proper vent hood and back-draft damper. If the vent terminates indoors, reroute it to an exterior wall.
Use of Inappropriate Materials
Dryer vents should be made of rigid or semi-rigid metal ducts with a smooth interior to prevent lint accumulation. Flexible plastic or foil ducts are not compliant as they pose a fire hazard due to their flammability and tendency to trap lint.
Replace any non-compliant ducting with rigid metal ducts, such as aluminum or galvanized steel, which are safer and more durable.
Improper Connections
Connections between duct sections should not use duct tape, as it cannot withstand the heat and may fail over time. Instead, use metal foil tape for a secure seal.
Inspect all duct connections and replace any duct tape with UL-listed metal foil tape. Ensure all connections are tight and secure.
Summary
Venting a dryer in a basement is essential for safety and efficiency. The process involves selecting the shortest, most direct path for the vent duct to minimize length and bends, maintaining airflow and reducing lint buildup.
Use rigid or semi-rigid metal ducts instead of flexible plastic ones for durability and reduced lint accumulation. Drill a hole through the exterior wall, ideally 12 inches above the ground, and secure a vent cap outside to prevent debris and pests.
The vent must terminate outside, away from windows or doors, to prevent moisture and lint from re-entering. Regular maintenance is crucial to prevent lint buildup, which can lead to fires and reduce efficiency.
Professional services like Steam Express offer thorough cleaning, using advanced tools to ensure safety and extend appliance life. Avoid common code violations such as improper vent termination and exceeding the maximum vent length of 25 feet, including adjustments for bends.
By following these guidelines and utilizing services from Steam Express, you can effectively vent your dryer in a basement, ensuring safety and efficiency.


