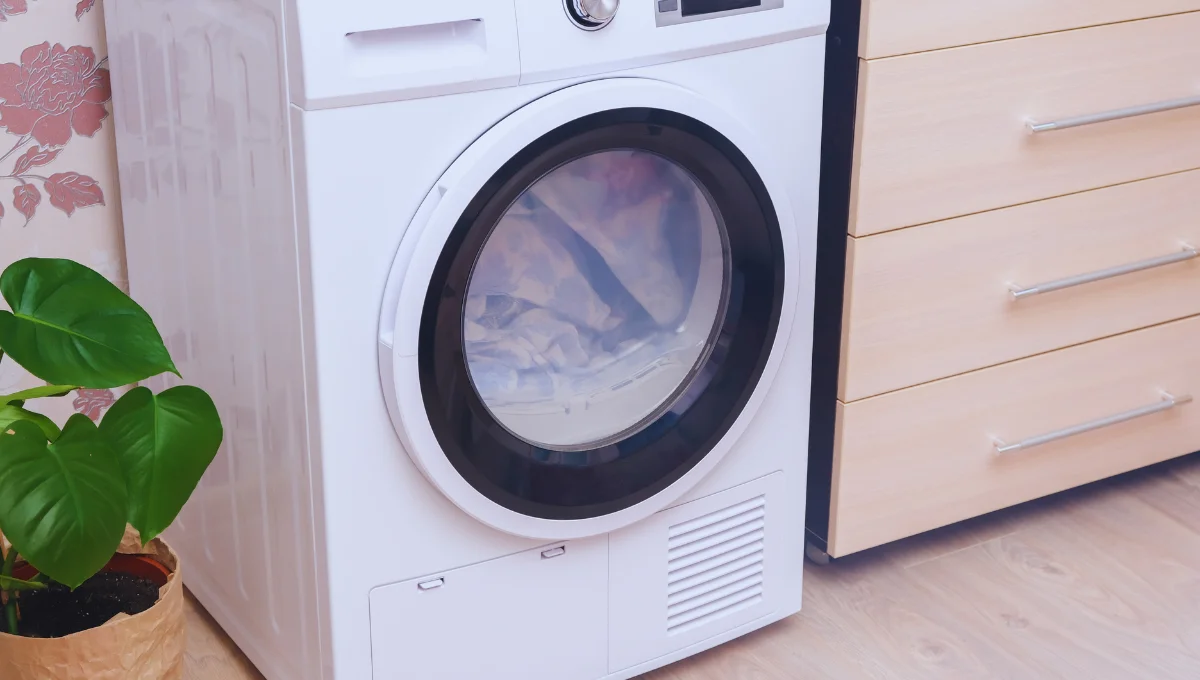
It’s a rainy Sunday afternoon, and you have just finished loading your old dryer with a week’s worth of laundry.
You press the start button and eagerly wait for the comforting hum of the machine, only to be met with disappointment as your clothes stubbornly cling to dampness.
Frustrating, right?
Now, just imagine if there was a simple solution to this laundry day dilemma!
That’s exactly what we are here to explore — a journey into the heart of how to fix a dryer vent hose. So you can finally restore the optimal dryer performance and banish lint buildup for good.
Keep reading to find out!
Signs Your Dryer Vent Hose Need To Be Repaired
Your dryer vent hose might not be the first thing on your mind, but it plays a crucial role in keeping your laundry routine smooth and your home safe.
Here are some telltale signs that it might be time to give that hose a closer look:
- Lingering Lint: If you notice lint sticking around even after you have cleaned out the lint trap, it could mean your vent hose is clogged or damaged.
- Long Drying Times: Is it taking longer than usual for your clothes to dry? A compromised vent hose might not be letting hot air escape efficiently, leading to extended drying cycles.
- Hot Exterior: Touch your dryer’s exterior after a cycle. If it feels hotter than usual, your vent hose could be blocked, causing heat buildup.
- Burning Smell: A distinct burning odor could indicate lint buildup inside the vent hose, which is not only a fire hazard but also a sign that your hose needs immediate attention.
- Visible Damage: Take a peek behind your dryer. If you spot any kinks, tears, or visible wear and tear on the hose, it’s definitely time for some repairs.
- Flimsy Vent Hood: Check the vent hood outside your home. If it’s not opening properly when the dryer is running, it could be a sign of obstruction in the hose.
- Moisture Buildup: Any signs of moisture or condensation around the dryer or vent area could mean the hose isn’t properly venting air outside.
Materials and Tools Needed
Having the right materials and tools can make all the difference. Here’s what you will need to tackle the issue:
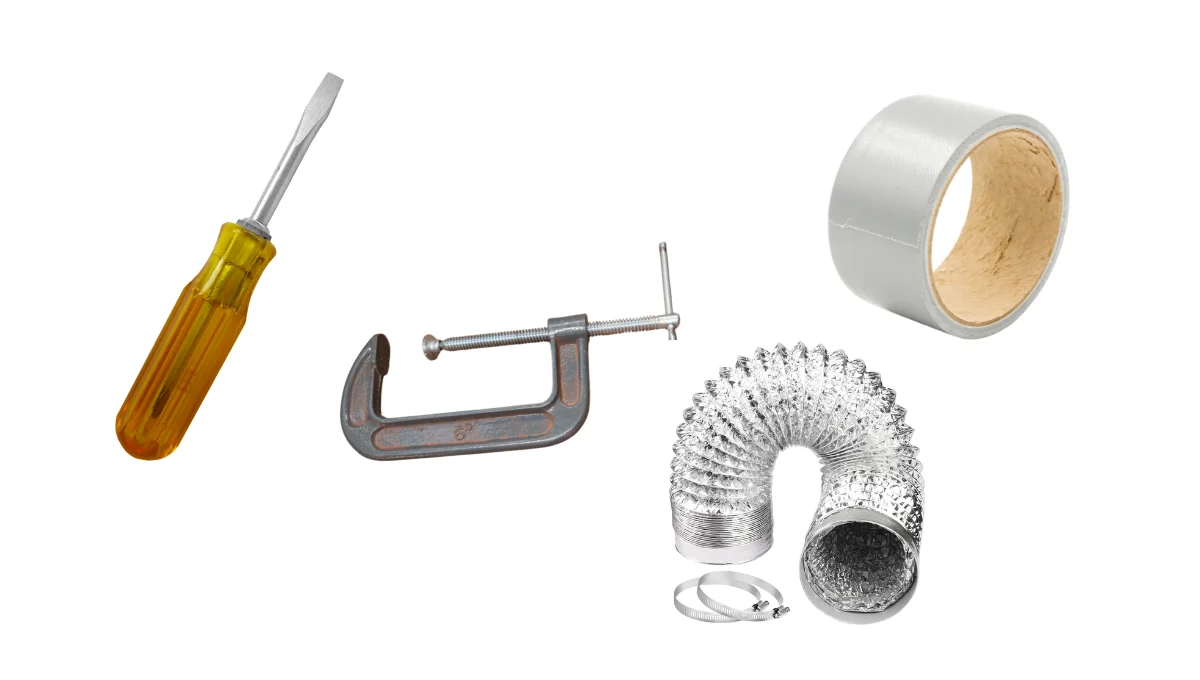
Materials
- Dryer Vent Hose: First things first, make sure you have got a new vent hose ready to go. Opt for a sturdy, flexible aluminum or semi-rigid hose for optimal performance.
- Vent Clamp: You will need a clamp to secure the vent hose to both the dryer and the vent opening. Hence, look for a clamp that’s the right size for your hose and easy to tighten.
- Vent Tape or Duct Tape: This adhesive will come in handy for sealing any joints or connections in the vent hose to prevent leaks.
- Vent Hood: If your vent hood outside needs replacing, grab a new one to ensure proper ventilation and keep those pesky critters out.
- Screwdriver or Nut Driver: Depending on your dryer model, you may need a screwdriver or nut driver to loosen and tighten screws or bolts.
- Utility Knife or Scissors: For trimming and cutting the vent hose to the right length, a sharp utility knife or a pair of sturdy scissors will do the trick.
Tools
- Flashlight: Shed some light on the situation! A flashlight will help you see what you are doing, especially if your dryer is tucked away in a dimly lit corner.
- Step Stool or Ladder: If your dryer vent is up high or in a hard-to-reach spot, a step stool or ladder will give you the extra height you need to work comfortably.
- Work Gloves: Protect those hands! A pair of work gloves will keep you safe from sharp edges and rough surfaces as you maneuver the vent hose into place.
- Safety Glasses: While you are at it, why not add an extra layer of protection for your peepers? Safety glasses will shield your eyes from any debris or dust that might stir up during the job.
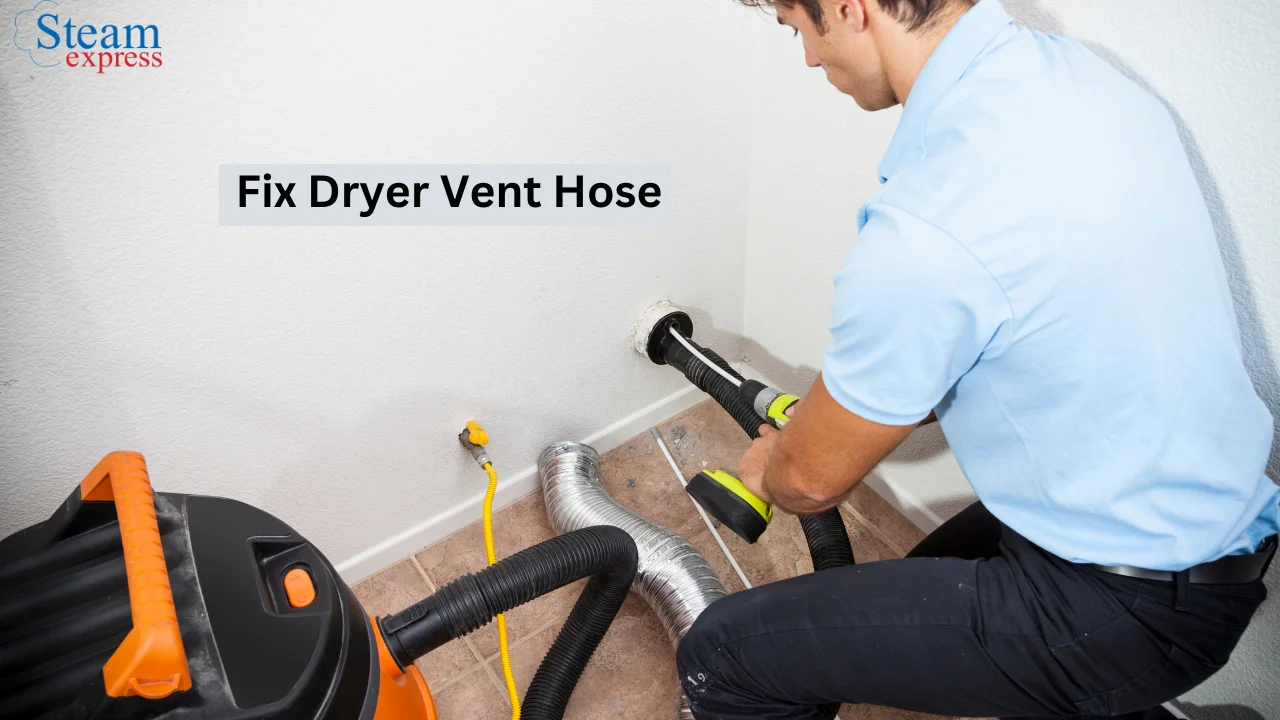
7 Simple Steps to Fix a Dryer Vent Hose
Fixing dryer vent hose isn’t rocket science, but it’s definitely essential for keeping your laundry routine smooth and safe. Here’s a breakdown of the steps to get your dryer vent back in tip-top shape:
Step 1: Unplug Your Dryer
First things first, safety comes first! Before you even think about touching that vent hose, make sure your dryer is completely unplugged. After all, we don’t want any unexpected surprises while we are working on it.
Step 2: Pull Back Your Dryer and Disconnect the Old Vent Hose
Carefully pull your dryer away from the wall, giving yourself ample space to work behind it. Once you have created some elbow room, it’s time to disconnect the old vent hose.
This might involve loosening a clamp or simply pulling it off the dryer and vent outlet. Hence, take your time with this step to avoid damaging the hose or the surrounding area.
Step 3: Inspect the Old Vent Hose for Damage
Now, let’s take a closer look at that old vent hose. Run your hands along its length, examining it for any signs of wear and tear.
Also, keep an eye out for holes, cracks, or areas of stiffness, as these could indicate that it’s time for a replacement.
Whatever the case, note down any damage so you know what you are dealing with. After all, it’s better to catch these issues now than to risk a dryer malfunction or even a fire later on.
Step 4: Patching a Foil-type Vent Hose
If you have got a foil-type vent hose that’s in decent shape but just needs a little TLC, you can patch it up with some foil tape.
Start by thoroughly cleaning the damaged area to ensure good adhesion. Then, carefully apply the tape, making sure to cover any tear or hole in the dryer vent hose completely. Plus, smooth down the edges to create a secure seal. And you will be all good to go!
Step 5: Repairing a Metal Vent Hose
For metal vent hoses, repairing any damage might require a bit more elbow grease.
That is, depending on the severity of the issue, you may need to use metal clamps to secure loose sections or even replace damaged portions altogether.
Hence, the smart call is to use the appropriate tools and materials for the job, and take time to ensure everything is securely fastened.
Step 6: Reattach the New or Repaired Vent Hose to Your Dryer
With your vent hose back in fighting shape, it’s time to reconnect it to your dryer and the vent outlet. Carefully slide the hose onto the dryer’s exhaust port, ensuring a snug fit.
Then, reattach it to the vent outlet, making sure everything is aligned properly. Afterward, tighten any clamps or fasteners as needed to prevent any leaks or airflow issues.
Step 7: Plug in Your Dryer and Test It
Last but not least, the moment of truth!
Plug your dryer back in, fire it up, and give it a test run. Listen for any unusual noises or vibrations, and check to make sure that air is flowing freely through the vent hose.
Also, run a load of laundry to make sure that everything is working as it should. And, in case, you notice any issues, don’t hesitate to double-check your connections or seek assistance from a professional.
Tips for Preventing Dryer Vent Hose Damage
- Regular Cleaning: Clean the lint trap after every load and periodically clean the vent hose to prevent lint buildup.
- Secure Connections: Make sure all connections between the vent hose, dryer, and vent outlet are secure to prevent leaks and disconnections.
- Avoid Heat Sources: Keep the vent hose away from heat sources like candles, heaters, or direct sunlight to prevent premature degradation.
- Use Flexible Hoses: Opt for flexible vent hoses instead of rigid ones to reduce stress on the hose during dryer movement.
- Trim Length if Necessary: If the vent hose is too long, trim it to the appropriate length to reduce the risk of tangling or excess stress.
- Proper Installation: Follow manufacturer guidelines for installing and securing the vent hose to prevent unnecessary strain.
- Monitor Dryer Performance: Pay attention to any changes in your dryer’s performance, such as longer drying times or excessive heat, which could indicate vent hose issues.
- Maintain Proper Ventilation: Ensure the area around the dryer is well-ventilated to prevent overheating and potential hose damage.
- Seek Professional Help: If you are unsure about any aspect of dryer maintenance or repair, don’t hesitate to seek help from a professional technician.
Wrapping Up
That’s all regarding how to fix dryer vent hose like a pro!
So, the next time you are left waiting for your laundry to dry, just remember to give your dryer vent hose some love.
Because with the simple steps outlined in this guide, you can ensure your dryer works smoothly and safely – saving you time, energy, and potentially preventing a fire hazard.
Also, a piece of advice, don’t let lint buildup dampen your laundry day—take full charge and keep those clothes spinning happily ever after.
Until next time, happy drying!
FAQs
Can I Clean My Dryer Vent Hose Myself?
Yes, you can! It’s a simple task that can save you money and keep your home safer. However, if the problem is complex, it’s better to bring in the experts.
Who to Call for Dryer Vent Repair?
For professional assistance, consider reaching out to HVAC technicians, appliance repair specialists, or duct cleaning services. They have the expertise to diagnose and fix any issues with your dryer vent safely and efficiently.
How to Reattach Dryer Vent Hose?
Start by ensuring both the dryer and the vent outlet are turned off. Then, slide one end of the hose over the dryer’s vent connection and secure it with a clamp.
Next, attach the other end to the vent outlet and tighten the clamp. Lastly, make sure there are no kinks in the hose for optimal airflow.